Formations:Askoria-AES-Bingo de l'eau
Projet BINGO DE L'EAU
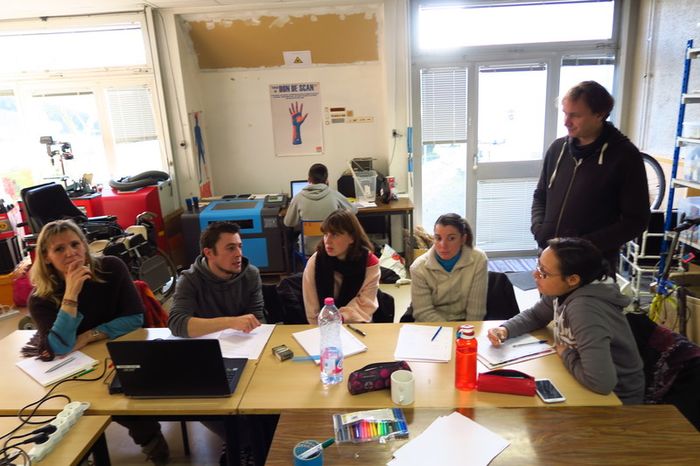
Ce projet s'adresse à un adute de 30 ans avec des troubles d'envahissement du développement (TED). C'est une personne autonome et avec toutes ses capacités motrices, et verbales. Il aime et utilise la tablette et des jeux vidéos. Il comprend les consignes et le déroulement de son emploi du temps fait à base de pictogrames. Après observation et utilisation de différentes méthodes pour l'inciter à s'hydrater régulièrement, nous n'y sommes pas parvenu. C'est une personne à qui si on ne demande, où ne lui propose pas de boire, il ne ce servira pas de lui même. Après reflexion entre professionnels et lors de la session technique (My Human Kit) entre AES, un projet individuel et adapté à été soumis. Celui ci est conçu dans la même conception que son emploi du temps, qui se lit de haut en bas.
Objectif du projet
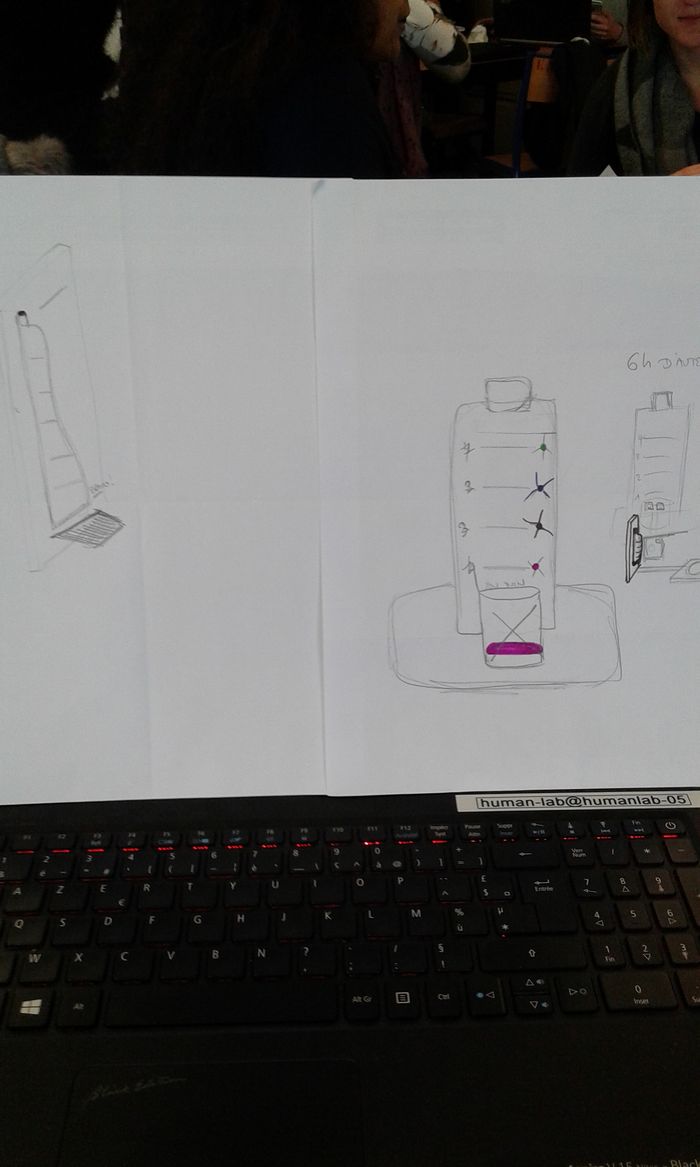
Réaliser un outil visuel lui permettant de se rappeler de s'hydrater plusieur fois par jours. L'objectif est que l'outil soit ludique et attrayant pour l'ammener à une réussite.(accès à différents renforcateurs) L'outil est conçu de façon qu'il soit autonome sur l'hydratation. L'inciter à se servir à boire seul. Répartition d'1 litre d'eau... 4 fois dans la journée.
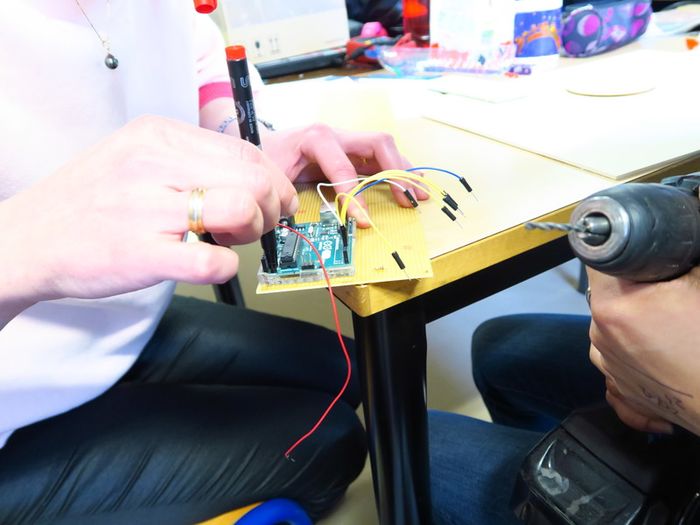
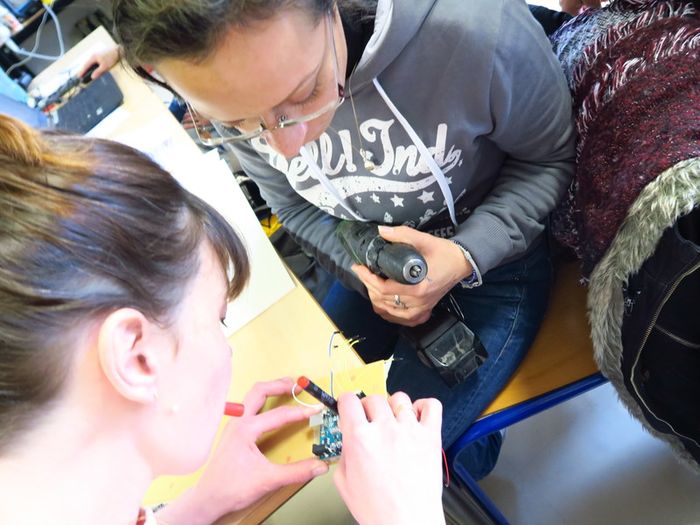
Images Soizic
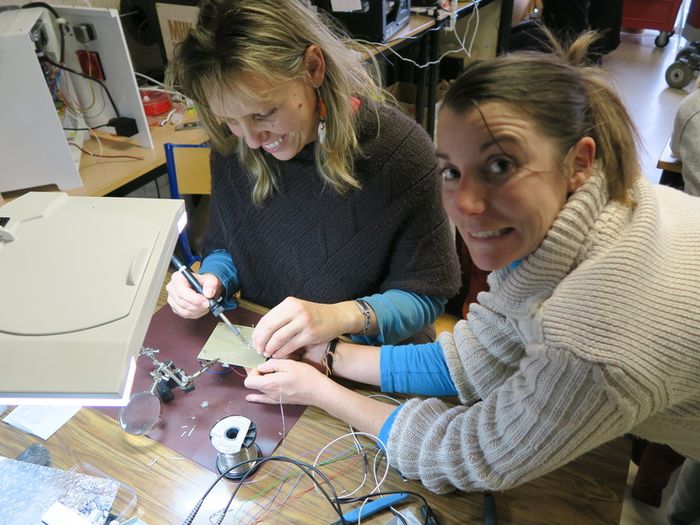
Images Maria
Les renforçateurs (méthode pédagogique basée sur la récompense)en fin d'utilisation de l'outil sont aux choix (un disque tournant avec comme exemple des pictos:tablette, un carré de chocolat, de la musique, etc....)
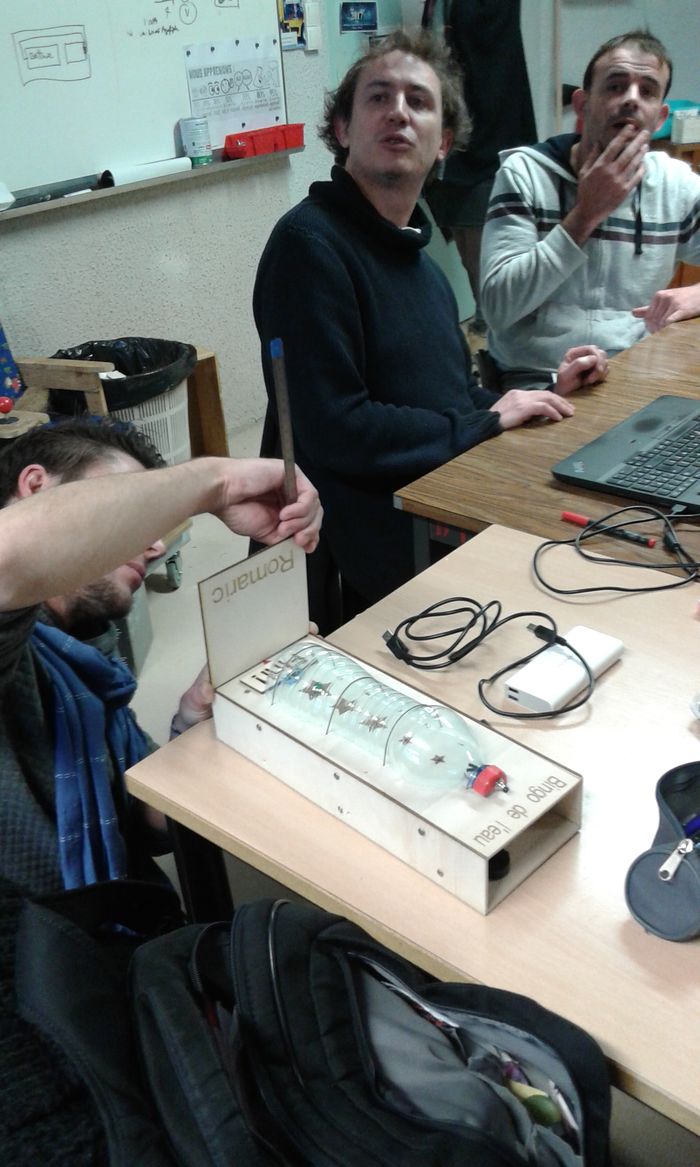
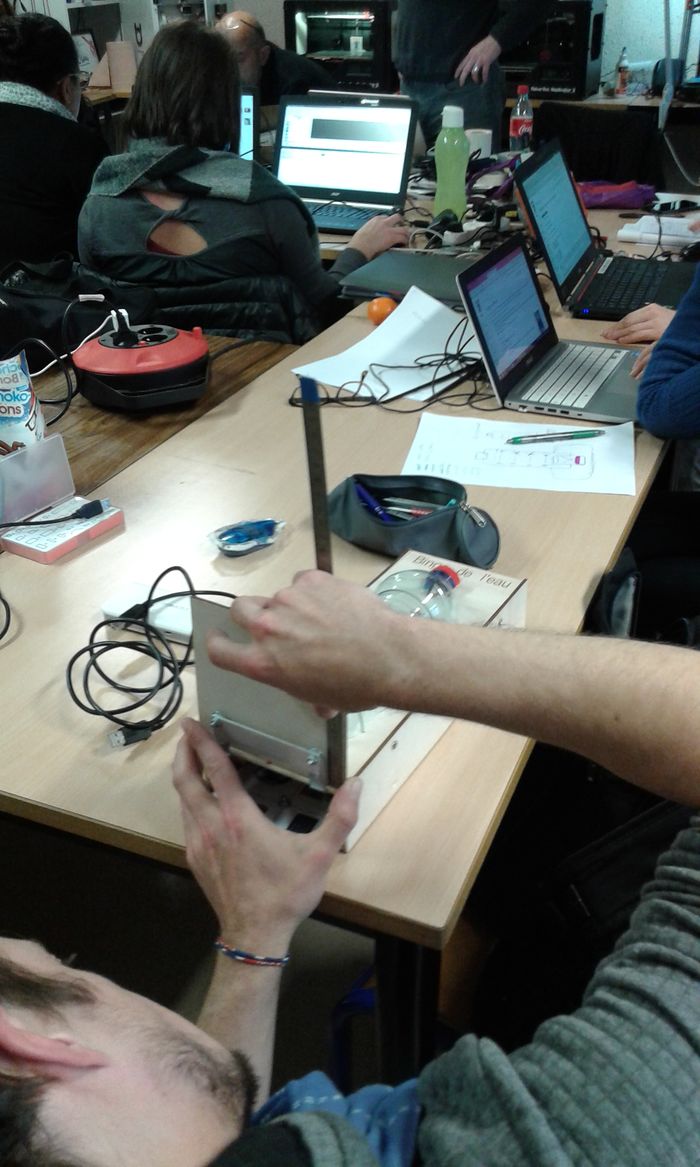
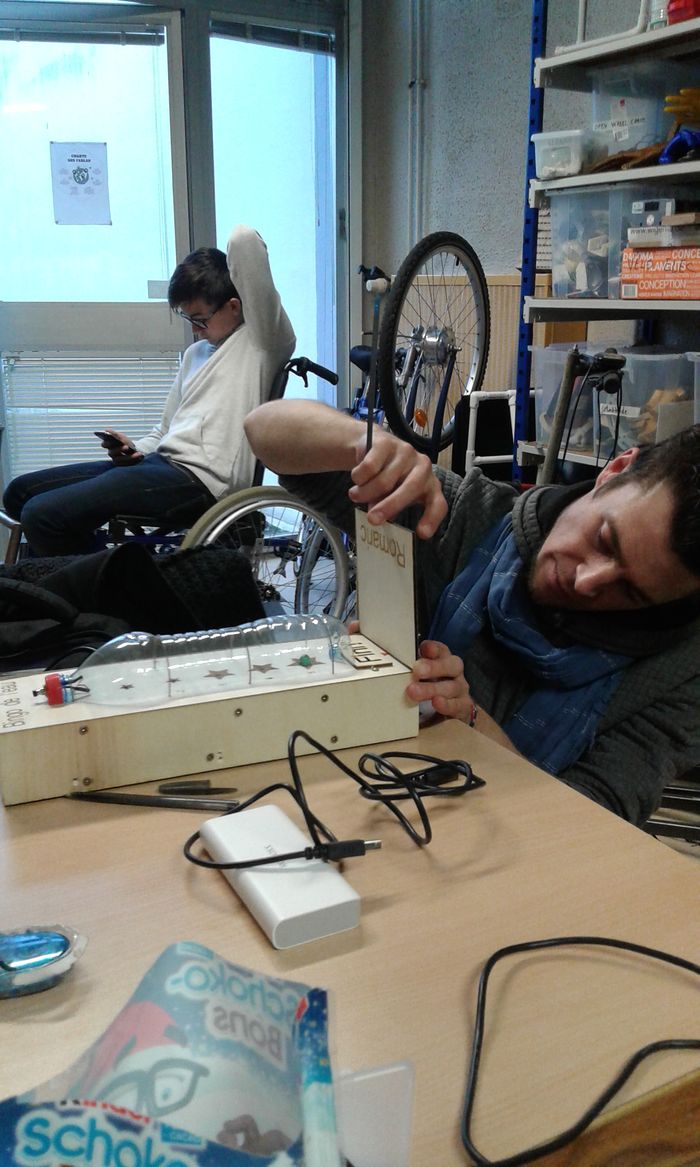

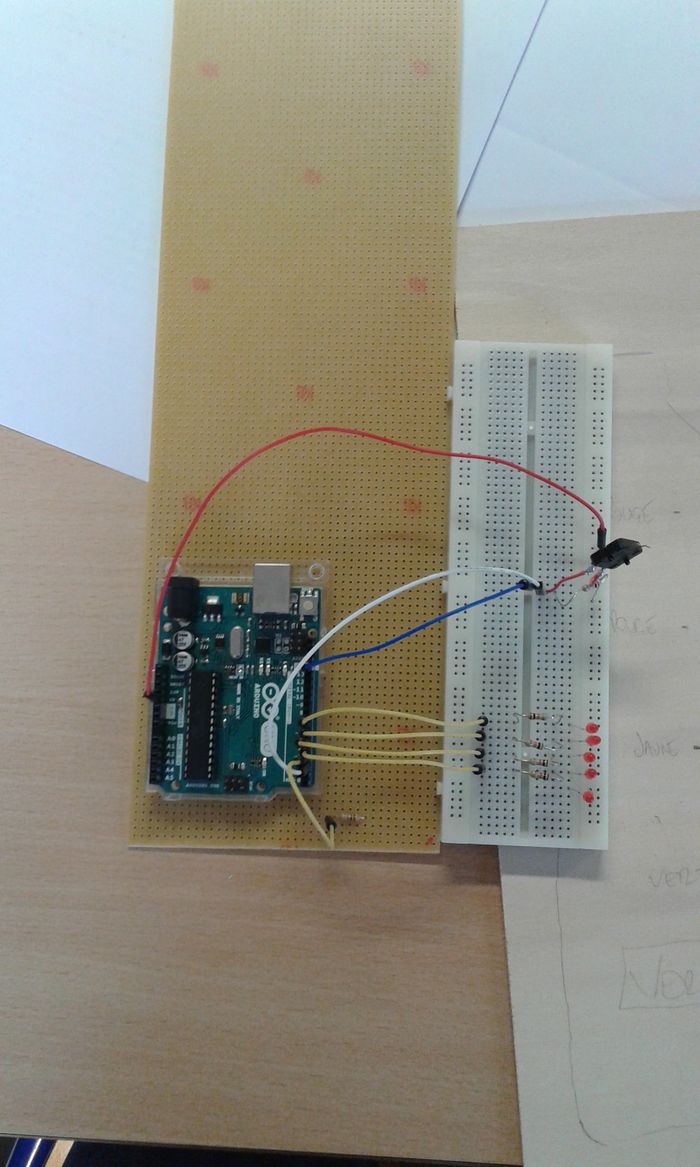
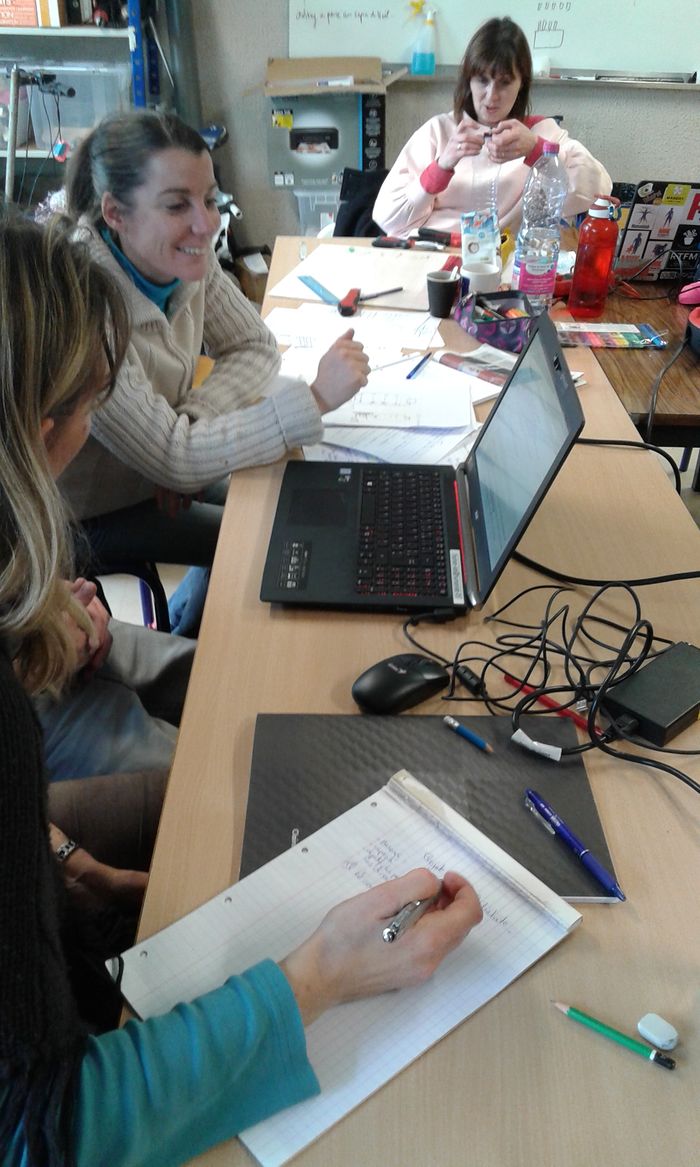
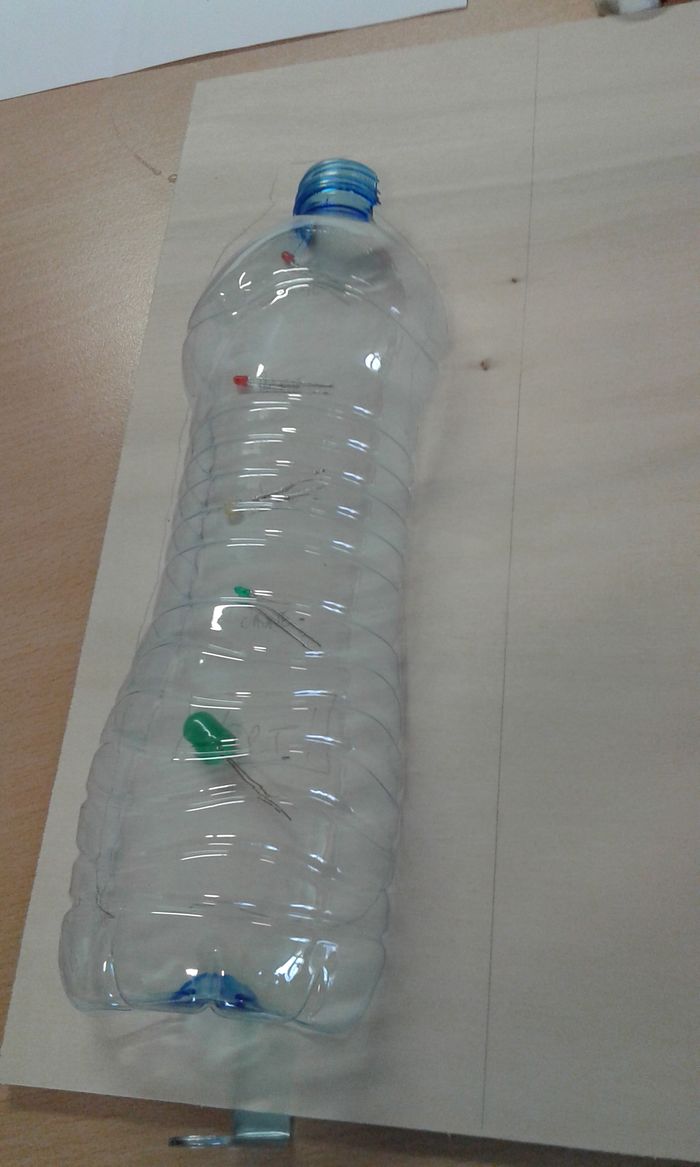 ((File:Persage du bouchon.jpg|700px]]
Cahier des charges
- transportable (pour le ramener à domicile)
- ludique
- élément visuel qui permet d'évaluer et mesurer la quantité d'eau absorbée.
- C'est la personne qui déclenche un élément qui permet de compter le nombre de fois qu'il a bu.
- Rechargable
CONCEPTION
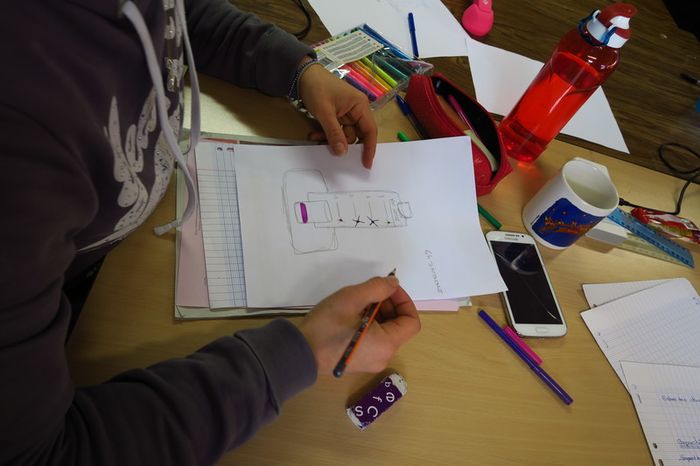
Etape I: Ebauche du dessin
Etape II: Début de réalisation de la maquette
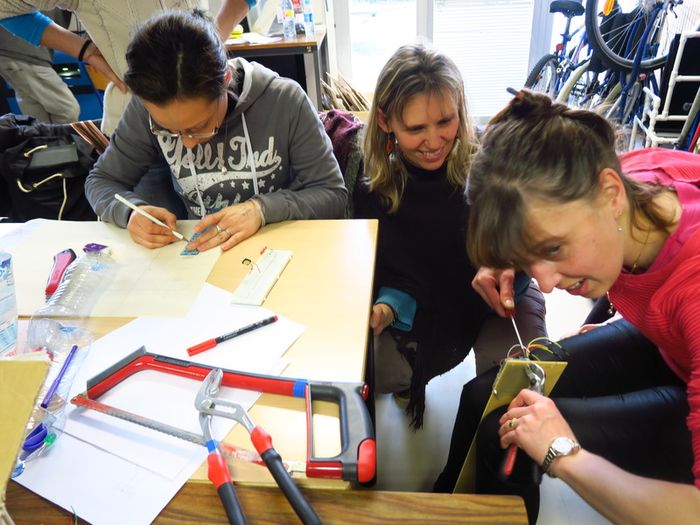
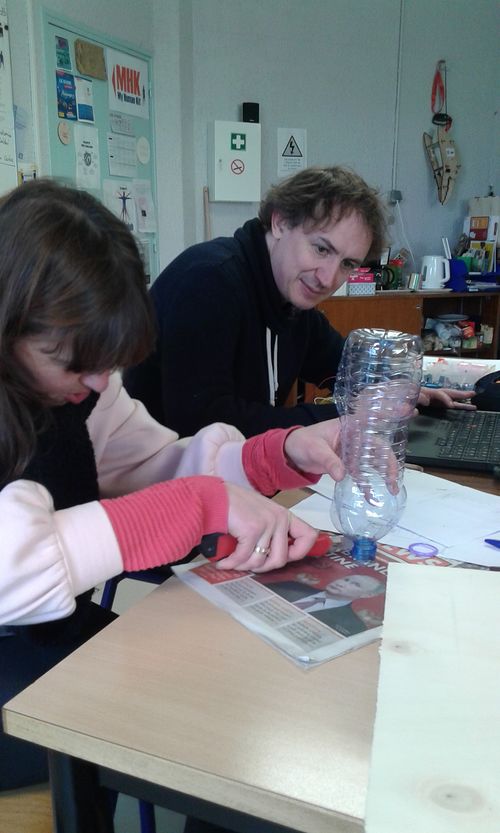
Equipe 1 création du boitier( Delphine, maria, thony)
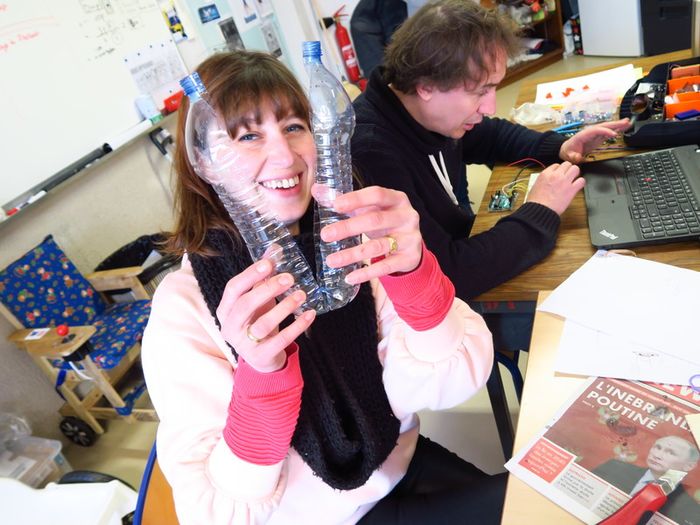
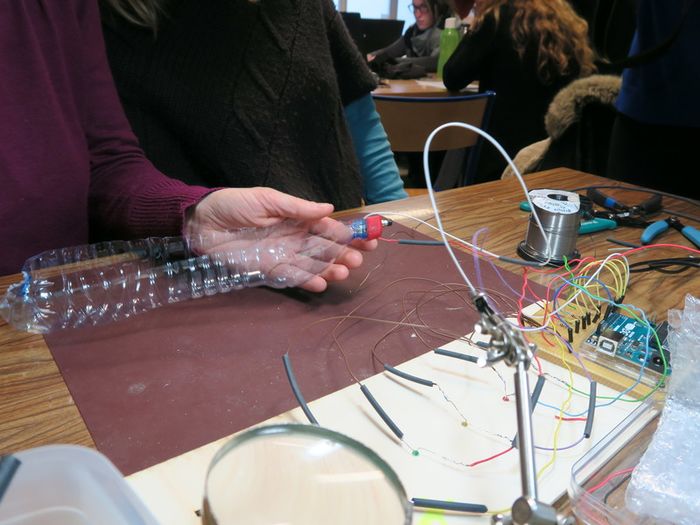
couper la bouteille et le bouchon en 2
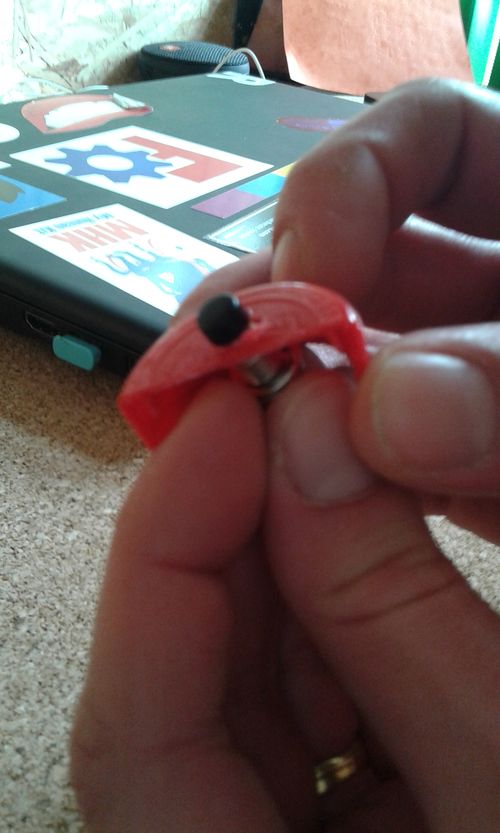
insérer le bouton poussoir dans la moitié de bouchon
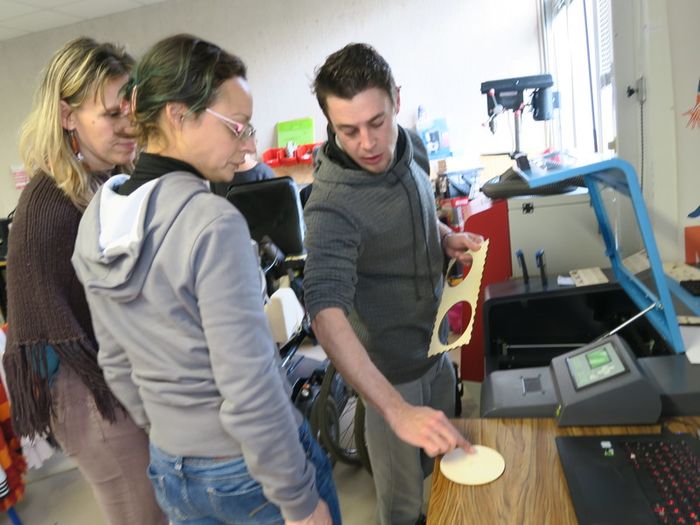
Découpe du coffrage et du disque pour les renforçateurs
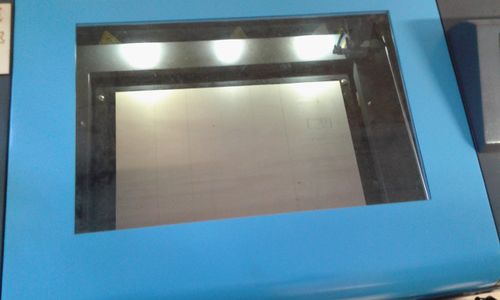
A l'aide de la découpe laser, découper la planche en bois (Peuplier de 3mm) aux dimensions suivantes:
- Largeur 125mm
- Hauteur 351 mm
- profondeur 60mm
Découper également le disque en bois sur un diamètre de 120 mm
Découper aussi la tablette aux dimensions suivantes:
- Largeur : 125 mm
- Longueur : 130 mm
Gravure des motifs avec la découpe laser
- Impression des étoiles de la plus grande à la plus petite
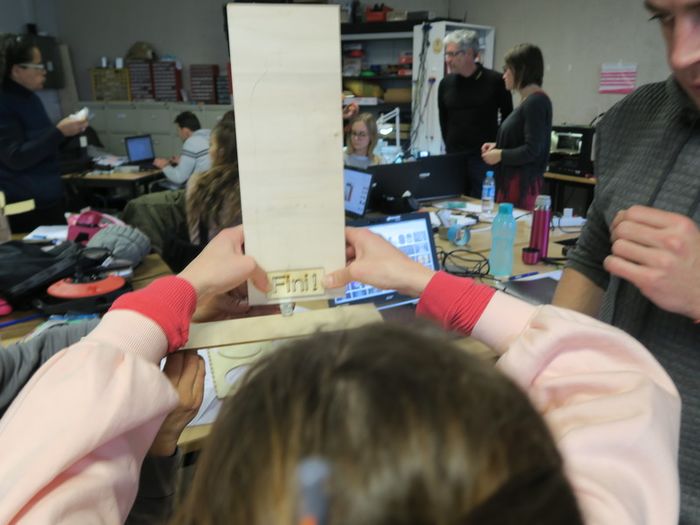
- Impression des écritures (Bingo de l'eau/fini)
Etape III: Programmation de circuit éléctronique (ARDUINO)
Utiliser le code suivant:
Code
// www.mekanizmalar.com
// 2015/03/29
// Modified by My Human Kit
// Le 20-12-2017 for a project with AES students in Askoria Rennes


/*
Demonstrates the use of an array to hold pin numbers.
Each time the push button is pressed, next LED in the
sequence will be turned on one by one.
And at the fifth step the melody is going on.
Then at the next pressed all the leds turned off.
*/

#include "pitches.h"

// notes in the melody:

int melody[] =
  {
  NOTE_C4, NOTE_G3, NOTE_G3, NOTE_A3, NOTE_G3, 0, NOTE_B3, NOTE_C4
  };

// note durations: 4 = quarter note, 8 = eighth note, etc.:

int noteDurations[] =
  {
  4, 8, 8, 4, 4, 4, 4, 4
  };

 const int buttonPin = 2; // the number of the pushbutton pin
 const int ledPin1 = 3;   // the number of the LED pin
 const int ledPin2 = 4;   // the number of the LED pin
 const int ledPin3 = 5;   // the number of the LED pin
 const int ledPin4 = 6;   // the number of the LED pin
 const int ledPin5 = 7;   // the number of the LED pin
 const int ledPin6 = 8;   // the number of the LED pin


 // variables will change:
 int buttonState = 0;     // variable for reading the pushbutton status
 int buttonPressCount = 0;
 int numberOfLED = 6;

////////////////////////////////////////////////////////////////////////

 void setup()

  {
  // initialize the LED pin as an output:
  pinMode(ledPin1, OUTPUT);
  pinMode(ledPin2, OUTPUT);
  pinMode(ledPin3, OUTPUT);
  pinMode(ledPin4, OUTPUT);
  pinMode(ledPin5, OUTPUT);

  // initialize the pushbutton pin as an input:
  pinMode(buttonPin, INPUT);
  }

////////////////////////////////////////////////////////////////////////

 void loop()

{
  // read the state of the pushbutton value:
  buttonState = digitalRead(buttonPin);

  // check if the pushbutton is pressed.
  // if it is, the buttonState is HIGH:
  if (buttonState == HIGH)

    {
      if (buttonPressCount % numberOfLED == 0)

      {
      // turn LED1 on:
      digitalWrite(ledPin1, HIGH);
      }

      else

      {
      digitalWrite(ledPin1, LOW);
      }

      if (buttonPressCount % numberOfLED == 1)

      {
      // turn LED1 and 2 on:
      digitalWrite(ledPin1, HIGH);
      digitalWrite(ledPin2, HIGH);
      }

      else

      {
      digitalWrite(ledPin2, LOW);
      }

      if (buttonPressCount % numberOfLED == 2)

      {
      // turn LED1 and 2 and 3 on:
      digitalWrite(ledPin1, HIGH);
      digitalWrite(ledPin2, HIGH);
      digitalWrite(ledPin3, HIGH);
      }

      else

      {
      digitalWrite(ledPin3, LOW);
      }

      if (buttonPressCount % numberOfLED == 3)

      {
      // turn LED1 and 2 and 3 and 4 on:
      digitalWrite(ledPin1, HIGH);
      digitalWrite(ledPin2, HIGH);
      digitalWrite(ledPin3, HIGH);
      digitalWrite(ledPin4, HIGH);
      }

      else

      {
      digitalWrite(ledPin4, LOW);
      }

      if (buttonPressCount % numberOfLED == 4)

      {
      // turn LED1 and 2 and 3 and 4 and 5 and Tone on:
      digitalWrite(ledPin1, HIGH);
      digitalWrite(ledPin2, HIGH);
      digitalWrite(ledPin3, HIGH);
      digitalWrite(ledPin4, HIGH);
      digitalWrite(ledPin5, HIGH);

      // MELODY //
      // iterate over the notes of the melody:
      for (int thisNote = 0; thisNote < 8; thisNote++)

      {
      // to calculate the note duration, take one second
      // divided by the note type.
      //e.g. quarter note = 1000 / 4, eighth note = 1000/8, etc.
      int noteDuration = 1000 / noteDurations[thisNote];
      tone(8, melody[thisNote], noteDuration);

      // to distinguish the notes, set a minimum time between them.
      // the note's duration + 30% seems to work well:
      int pauseBetweenNotes = noteDuration * 1.30;
      delay(pauseBetweenNotes);
      // stop the tone playing:
      noTone(8);
      }
      }

      else

      {
      digitalWrite(ledPin5, LOW);
      }

      if (buttonPressCount % numberOfLED == 5)
      {
      // turn LED1 and 2 and 3 and 4 and 5 and Tone off:
      digitalWrite(ledPin1, LOW);
      digitalWrite(ledPin2, LOW);
      digitalWrite(ledPin3, LOW);
      digitalWrite(ledPin4, LOW);
      digitalWrite(ledPin5, LOW);
      }

      else

      {
      //digitalWrite(ledPin6, LOW);
      }

      buttonPressCount++;
      delay(400);

    }
}
Etape IV: Montage Arduino
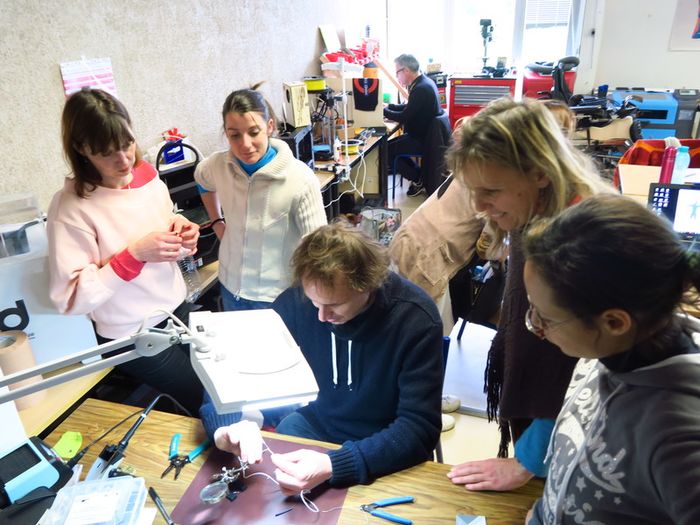
Equipe 2: Soizic, Isabelle
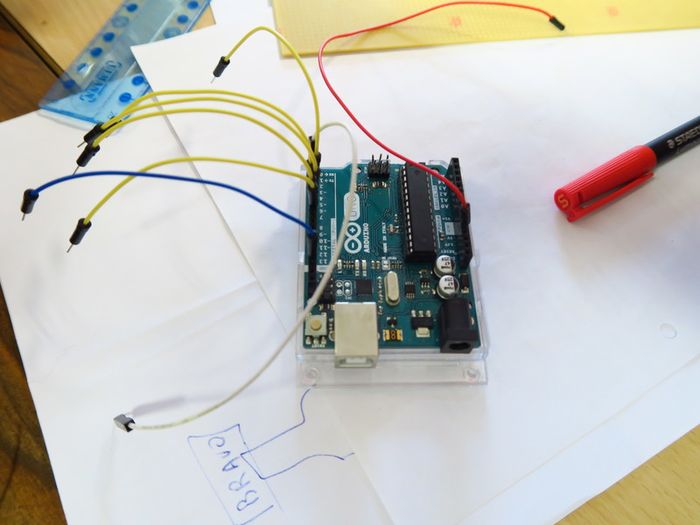
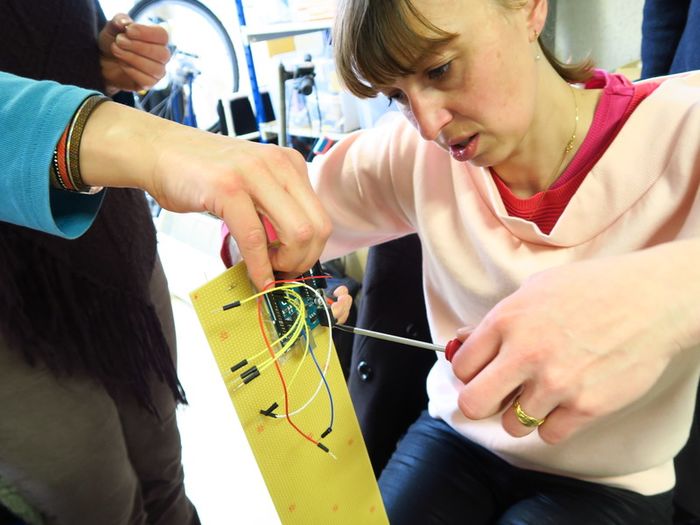
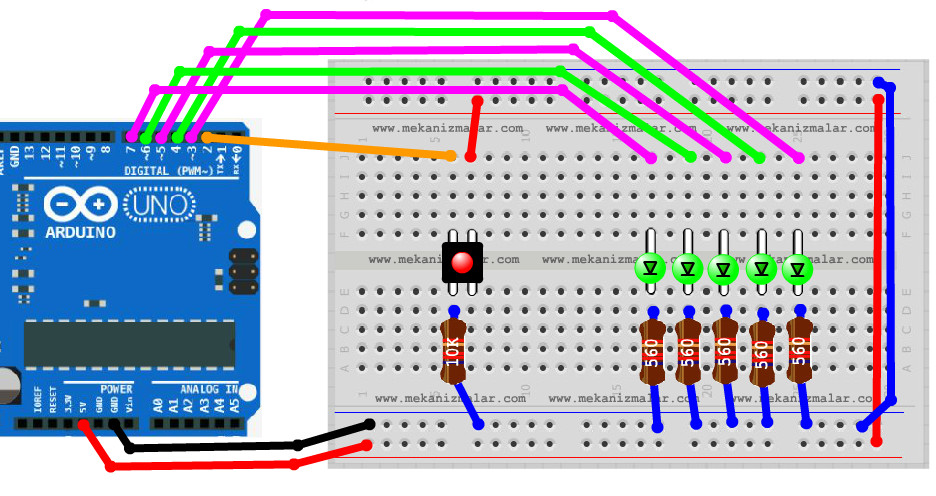
- Relier les files électriques au circuit ARDUINO, voir schéma:
Soudure
- souder les composants de façon à ce que se soit un circuit fermé en reliant + et les -
- relier les electrodes des LEDS (voir schéma)
- vérifier que les LEDS s'allument
Etape V: Assemblage d'une partie du coffrage et intégration du circuit
- accessibilité sortie prise, pour cable d'alimentation
- ajouter le disque en bois,puis disque plastifié avec des images de renforçateurs.
- ajouter un cadre métalique en utilisant des équerres, pour y fixer la tablette socle en bois aimanté
- ajouter une une tablette en bois, pour poser un verre
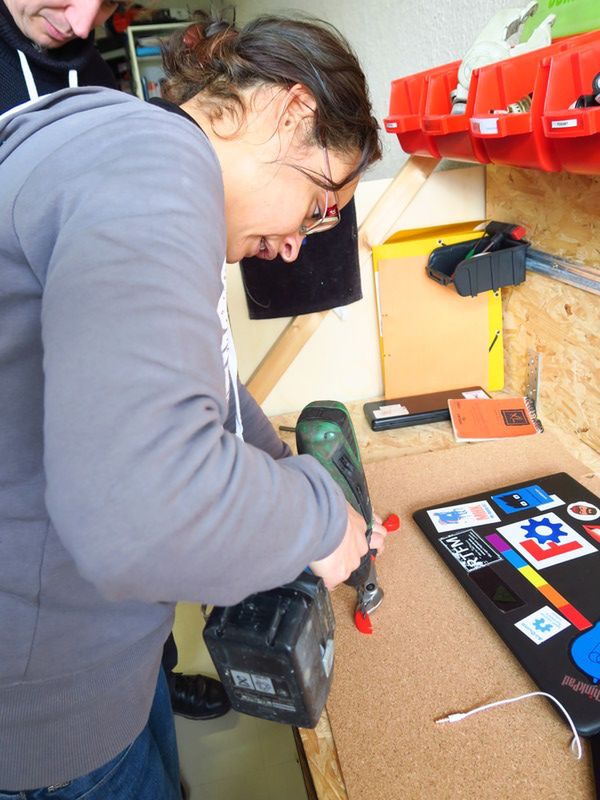
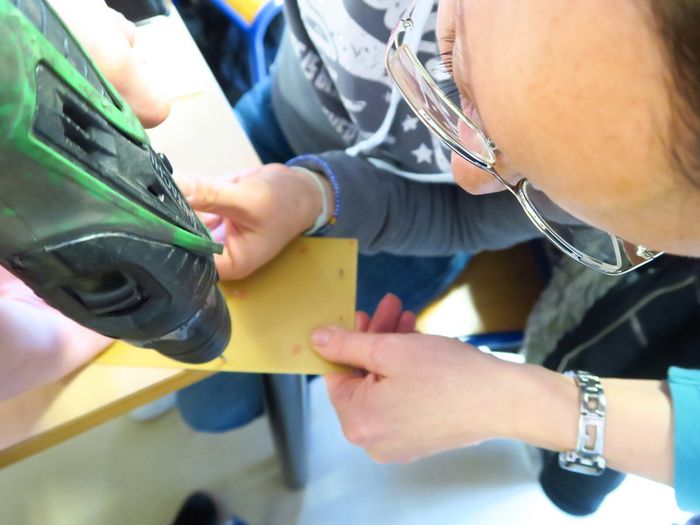
- perçage de la plaque en bois, et fixation de la bouteille avec du fil a cerf volant
Equipe
Dephine, Maria, Tony, Soizic, Isabelle
Matériel nécessaire
bouteille plastique, leds, planche en bois 2 de 36cm sur 12,5 et 2 de 36 sur 6, fil électrique, carte arduino, circuit, planche plastique, un chargeur, 2 équerre et 3 règlettes mécano, des vis de 3fixation circuit, 4 vis de 4pour fixation pour socle tablette, 11 VIS classique pour fixation coffrage, 2 aimants a mettre sur planchette de bois 13cm sur sur 12,5, interrupteur, fil d'étaing, 12 petits tasseaux pour coffrage
Outils nécessaires
découpeuse et imprimante laser, poste a souder, de l',
Coût
Arduino uno = 20€ Par exemple : https://www.gotronic.fr/art-carte-arduino-uno-12420.htm
PowerBank USB = 25€ Par exemple : https://www.batteries-externes.com/batterie-usb-universelle/21-chargeur-batterie-universel-4000mah-ultraplate.html
5 leds = 0.25€ Par exemple : https://www.gotronic.fr/cat-leds-de-1-8-a-3-mm-1292.htm
1 bouton poussoir = 2€ Par exemple : https://www.gotronic.fr/art-module-bouton-poussoir-octopus-ef04034-23538.htm
6 Résistances = 0.30€ Par exemple : https://www.gotronic.fr/art-5-resistances-1-2w-6-2-k-937-8831.htm
1 Buzzer = 2€ Par exemple : https://www.gotronic.fr/art-buzzer-sv2c-18135.htm
1 plaque pastillée = 7.13€ Par exemple : https://www.lextronic.fr/plaques-pastillees/2775-plaque-pastille-3-trous-100-x-160-mm.html
1 Planche de Contre plaqué 3mm = 28€ (Il n'en faut qu'un e partie) Par exemple : https://www.leroymerlin.fr/v3/p/produits/panneau-contreplaque-peuplier-ep-3-mm-x-l-250-x-l-122-cm-e154615
Code
// www.mekanizmalar.com
// 2015/03/29
// Modified by My Human Kit
// Le 20-12-2017 for a project with AES students in Askoria Rennes


/*
Demonstrates the use of an array to hold pin numbers.
Each time the push button is pressed, next LED in the
sequence will be turned on one by one.
And at the fifth step the melody is going on.
Then at the next pressed all the leds turned off.
*/

#include "pitches.h"

// notes in the melody:

int melody[] =
  {
  NOTE_C4, NOTE_G3, NOTE_G3, NOTE_A3, NOTE_G3, 0, NOTE_B3, NOTE_C4
  };

// note durations: 4 = quarter note, 8 = eighth note, etc.:

int noteDurations[] =
  {
  4, 8, 8, 4, 4, 4, 4, 4
  };

 const int buttonPin = 2; // the number of the pushbutton pin
 const int ledPin1 = 3;   // the number of the LED pin
 const int ledPin2 = 4;   // the number of the LED pin
 const int ledPin3 = 5;   // the number of the LED pin
 const int ledPin4 = 6;   // the number of the LED pin
 const int ledPin5 = 7;   // the number of the LED pin
 const int ledPin6 = 8;   // the number of the LED pin


 // variables will change:
 int buttonState = 0;     // variable for reading the pushbutton status
 int buttonPressCount = 0;
 int numberOfLED = 6;

////////////////////////////////////////////////////////////////////////

 void setup()

  {
  // initialize the LED pin as an output:
  pinMode(ledPin1, OUTPUT);
  pinMode(ledPin2, OUTPUT);
  pinMode(ledPin3, OUTPUT);
  pinMode(ledPin4, OUTPUT);
  pinMode(ledPin5, OUTPUT);

  // initialize the pushbutton pin as an input:
  pinMode(buttonPin, INPUT);
  }

////////////////////////////////////////////////////////////////////////

 void loop()

{
  // read the state of the pushbutton value:
  buttonState = digitalRead(buttonPin);

  // check if the pushbutton is pressed.
  // if it is, the buttonState is HIGH:
  if (buttonState == HIGH)

    {
      if (buttonPressCount % numberOfLED == 0)

      {
      // turn LED1 on:
      digitalWrite(ledPin1, HIGH);
      }

      else

      {
      digitalWrite(ledPin1, LOW);
      }

      if (buttonPressCount % numberOfLED == 1)

      {
      // turn LED1 and 2 on:
      digitalWrite(ledPin1, HIGH);
      digitalWrite(ledPin2, HIGH);
      }

      else

      {
      digitalWrite(ledPin2, LOW);
      }

      if (buttonPressCount % numberOfLED == 2)

      {
      // turn LED1 and 2 and 3 on:
      digitalWrite(ledPin1, HIGH);
      digitalWrite(ledPin2, HIGH);
      digitalWrite(ledPin3, HIGH);
      }

      else

      {
      digitalWrite(ledPin3, LOW);
      }

      if (buttonPressCount % numberOfLED == 3)

      {
      // turn LED1 and 2 and 3 and 4 on:
      digitalWrite(ledPin1, HIGH);
      digitalWrite(ledPin2, HIGH);
      digitalWrite(ledPin3, HIGH);
      digitalWrite(ledPin4, HIGH);
      }

      else

      {
      digitalWrite(ledPin4, LOW);
      }

      if (buttonPressCount % numberOfLED == 4)

      {
      // turn LED1 and 2 and 3 and 4 and 5 and Tone on:
      digitalWrite(ledPin1, HIGH);
      digitalWrite(ledPin2, HIGH);
      digitalWrite(ledPin3, HIGH);
      digitalWrite(ledPin4, HIGH);
      digitalWrite(ledPin5, HIGH);

      // MELODY //
      // iterate over the notes of the melody:
      for (int thisNote = 0; thisNote < 8; thisNote++)

      {
      // to calculate the note duration, take one second
      // divided by the note type.
      //e.g. quarter note = 1000 / 4, eighth note = 1000/8, etc.
      int noteDuration = 1000 / noteDurations[thisNote];
      tone(8, melody[thisNote], noteDuration);

      // to distinguish the notes, set a minimum time between them.
      // the note's duration + 30% seems to work well:
      int pauseBetweenNotes = noteDuration * 1.30;
      delay(pauseBetweenNotes);
      // stop the tone playing:
      noTone(8);
      }
      }

      else

      {
      digitalWrite(ledPin5, LOW);
      }

      if (buttonPressCount % numberOfLED == 5)
      {
      // turn LED1 and 2 and 3 and 4 and 5 and Tone off:
      digitalWrite(ledPin1, LOW);
      digitalWrite(ledPin2, LOW);
      digitalWrite(ledPin3, LOW);
      digitalWrite(ledPin4, LOW);
      digitalWrite(ledPin5, LOW);
      }

      else

      {
      //digitalWrite(ledPin6, LOW);
      }

      buttonPressCount++;
      delay(400);

    }
}
